
Step 1: Check your college rules
Some universities don’t have any rules about cap decorating, but some of them do.
Check the instructions you receive about your graduation ceremony, ask secretaries, and scroll through the official website.
Step 2: Choose how you want it decorated
You will find a lot of ideas on Pinterest (here’s my board: pin.it/4zFn7QgGs).
Basically, there are three option:
- decorate the cap by yourself (the whole design)
- find a printed design online and just glue the whole thing on the top
- ask an artist to do it
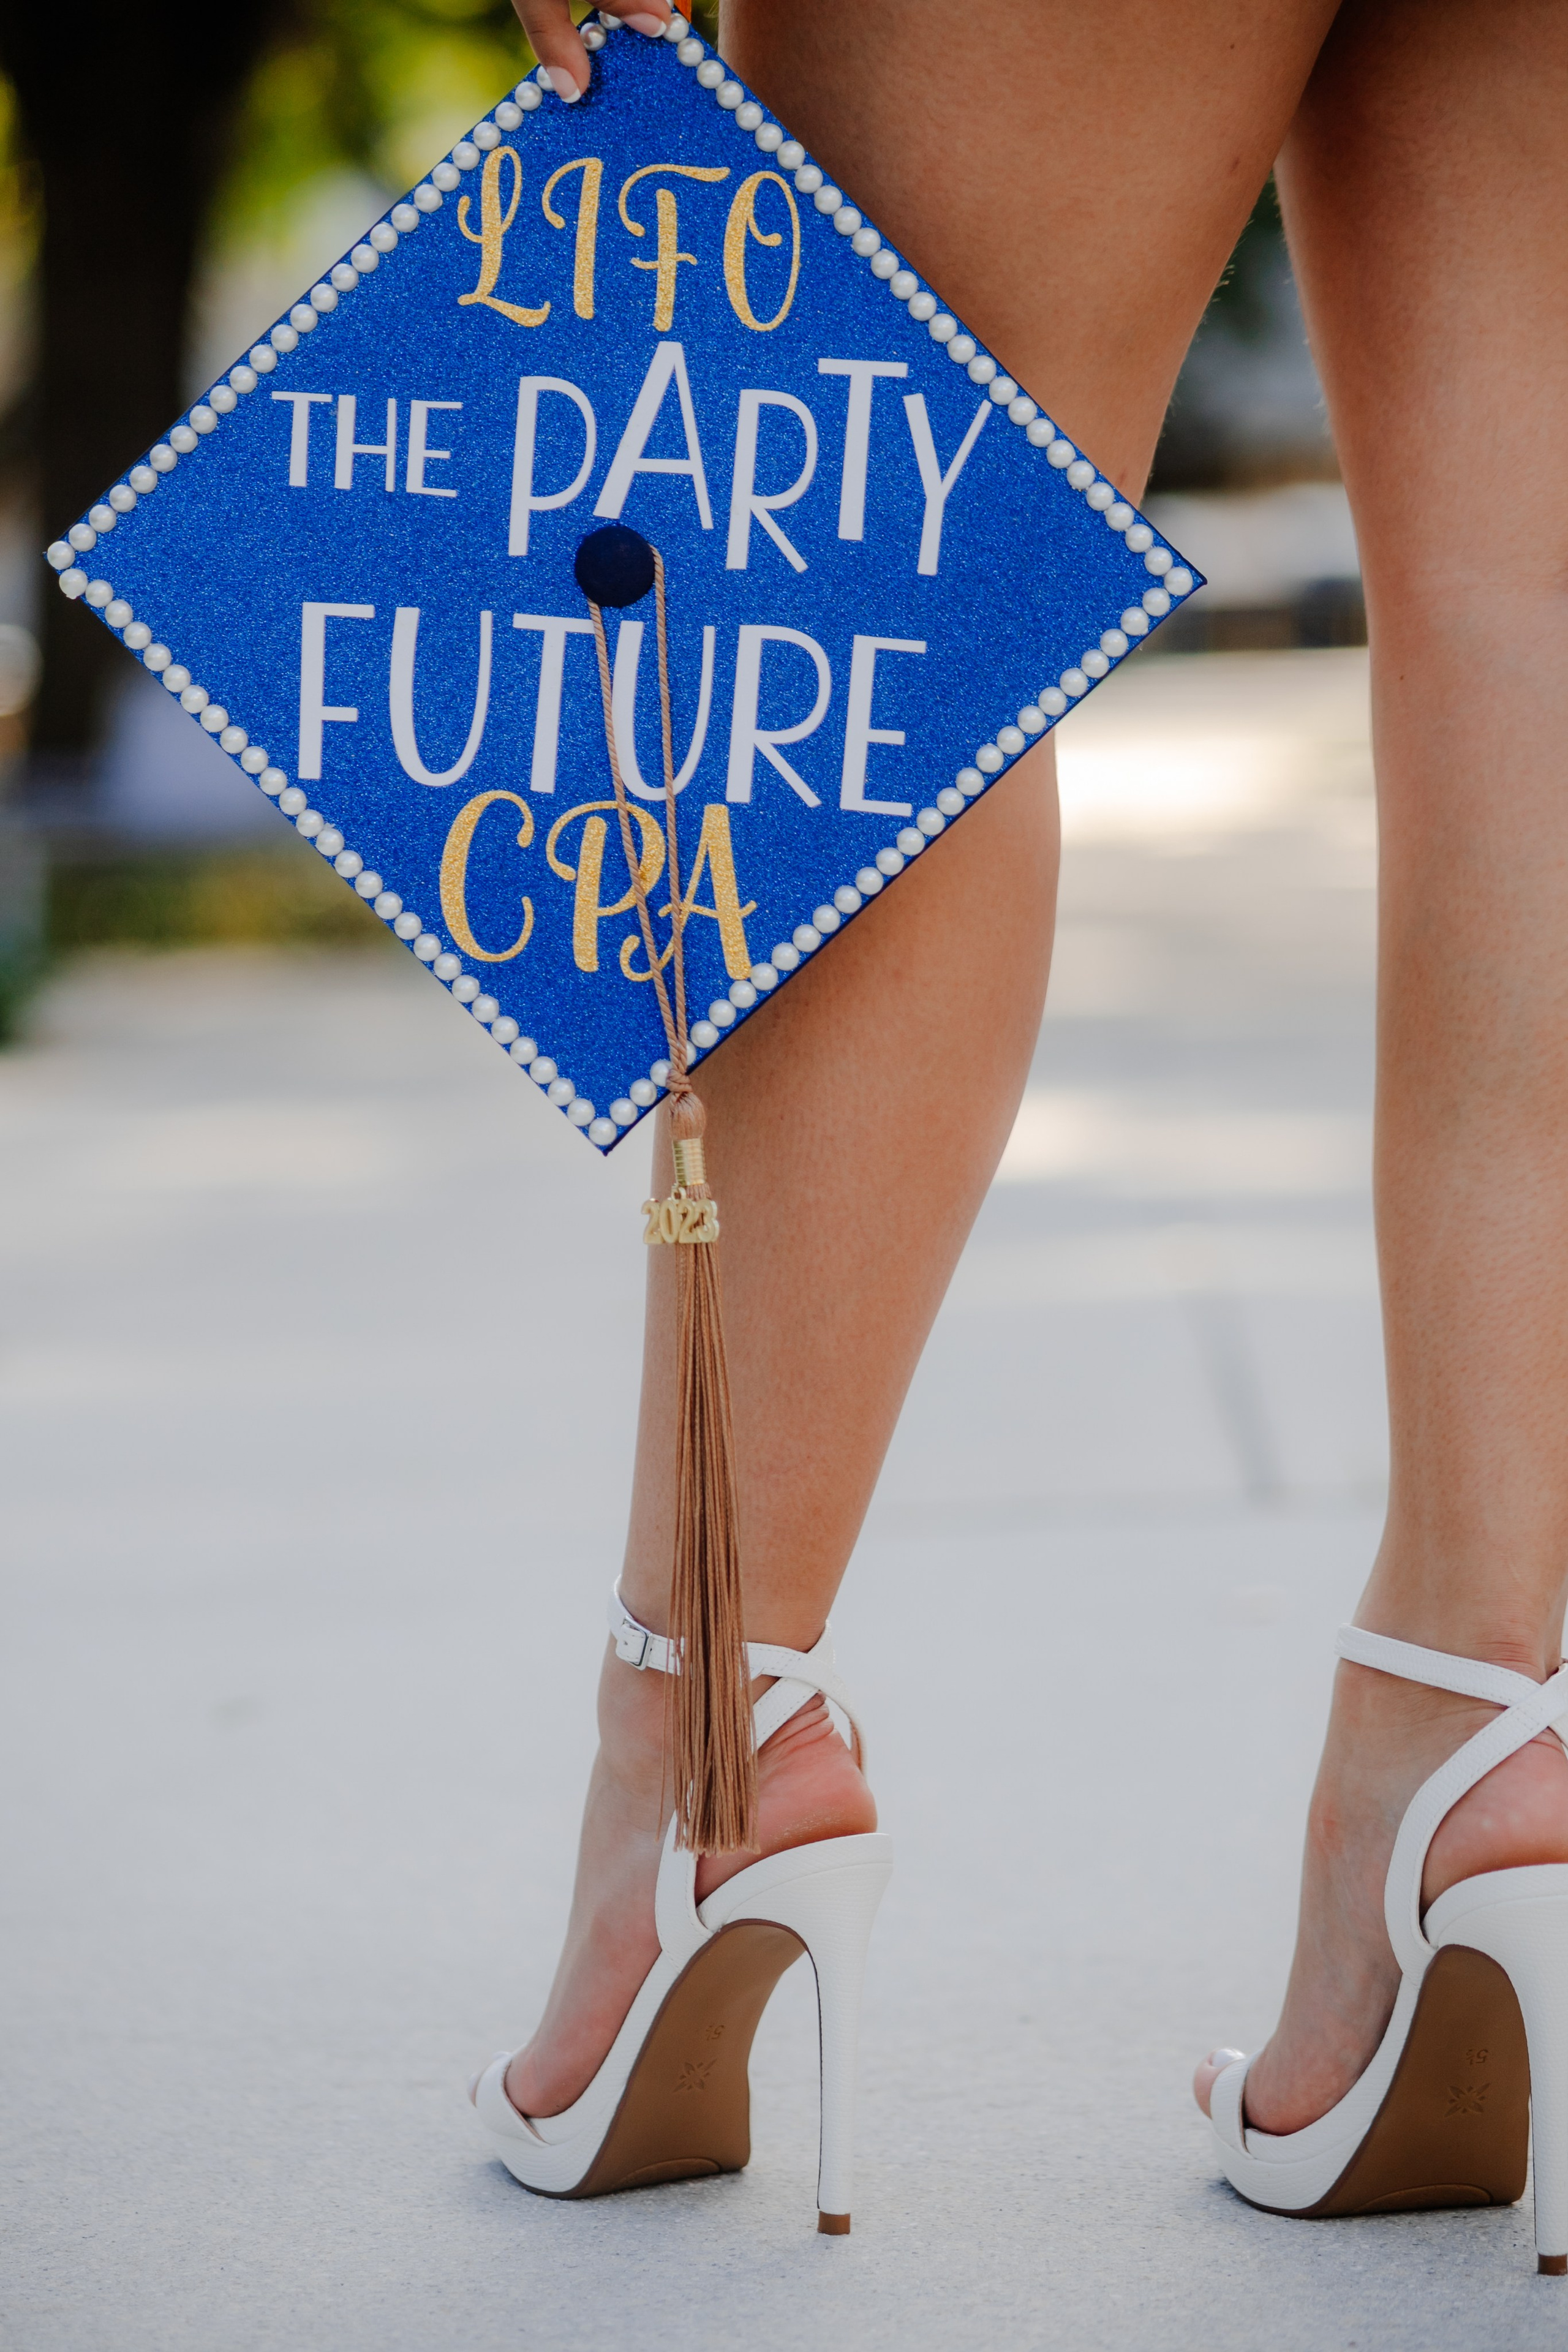

Step 3: Do it in advance
If you’re planning to take your photos a couple weeks before the ceremony, your cap should be ready prior to the day of the photoshoot.
Set an evening for a decoration project if you do it yourself or check the artist’s availability if you decide to hire one.
Some practical tips about…
…the tassel pin
If you’re glueing something on top of the cap, leave the access to the tassel pin open. You will move the tassel from right to left during the ceremony, so better have it moving.
…3D decorations
All the cute pieces that go above the cap (butterflies, flowers — anything voluminous) have more chances of falling off on the way to the ceremony. Glue them good.
…self-adhesive letters
Oh, they WILL fall off. Hot glue is the best way to secure the letters for good.
…head band
While holding the hot glue gun, you might as well make your cap suitable for curly hair (if you have them).
Fold the soft sides inside, and glue the top of the band to the middle of the cap inside.
Final step: Take your memorable photos!
With all the work you’ve put into your graduation, you deserve great photos to remember.
And I’m here for you, to capture your graduation glory.
We can even throw the cap in the air — I have spare ones just for this purpose!

Are you ready to graduate?
Story time | Blog
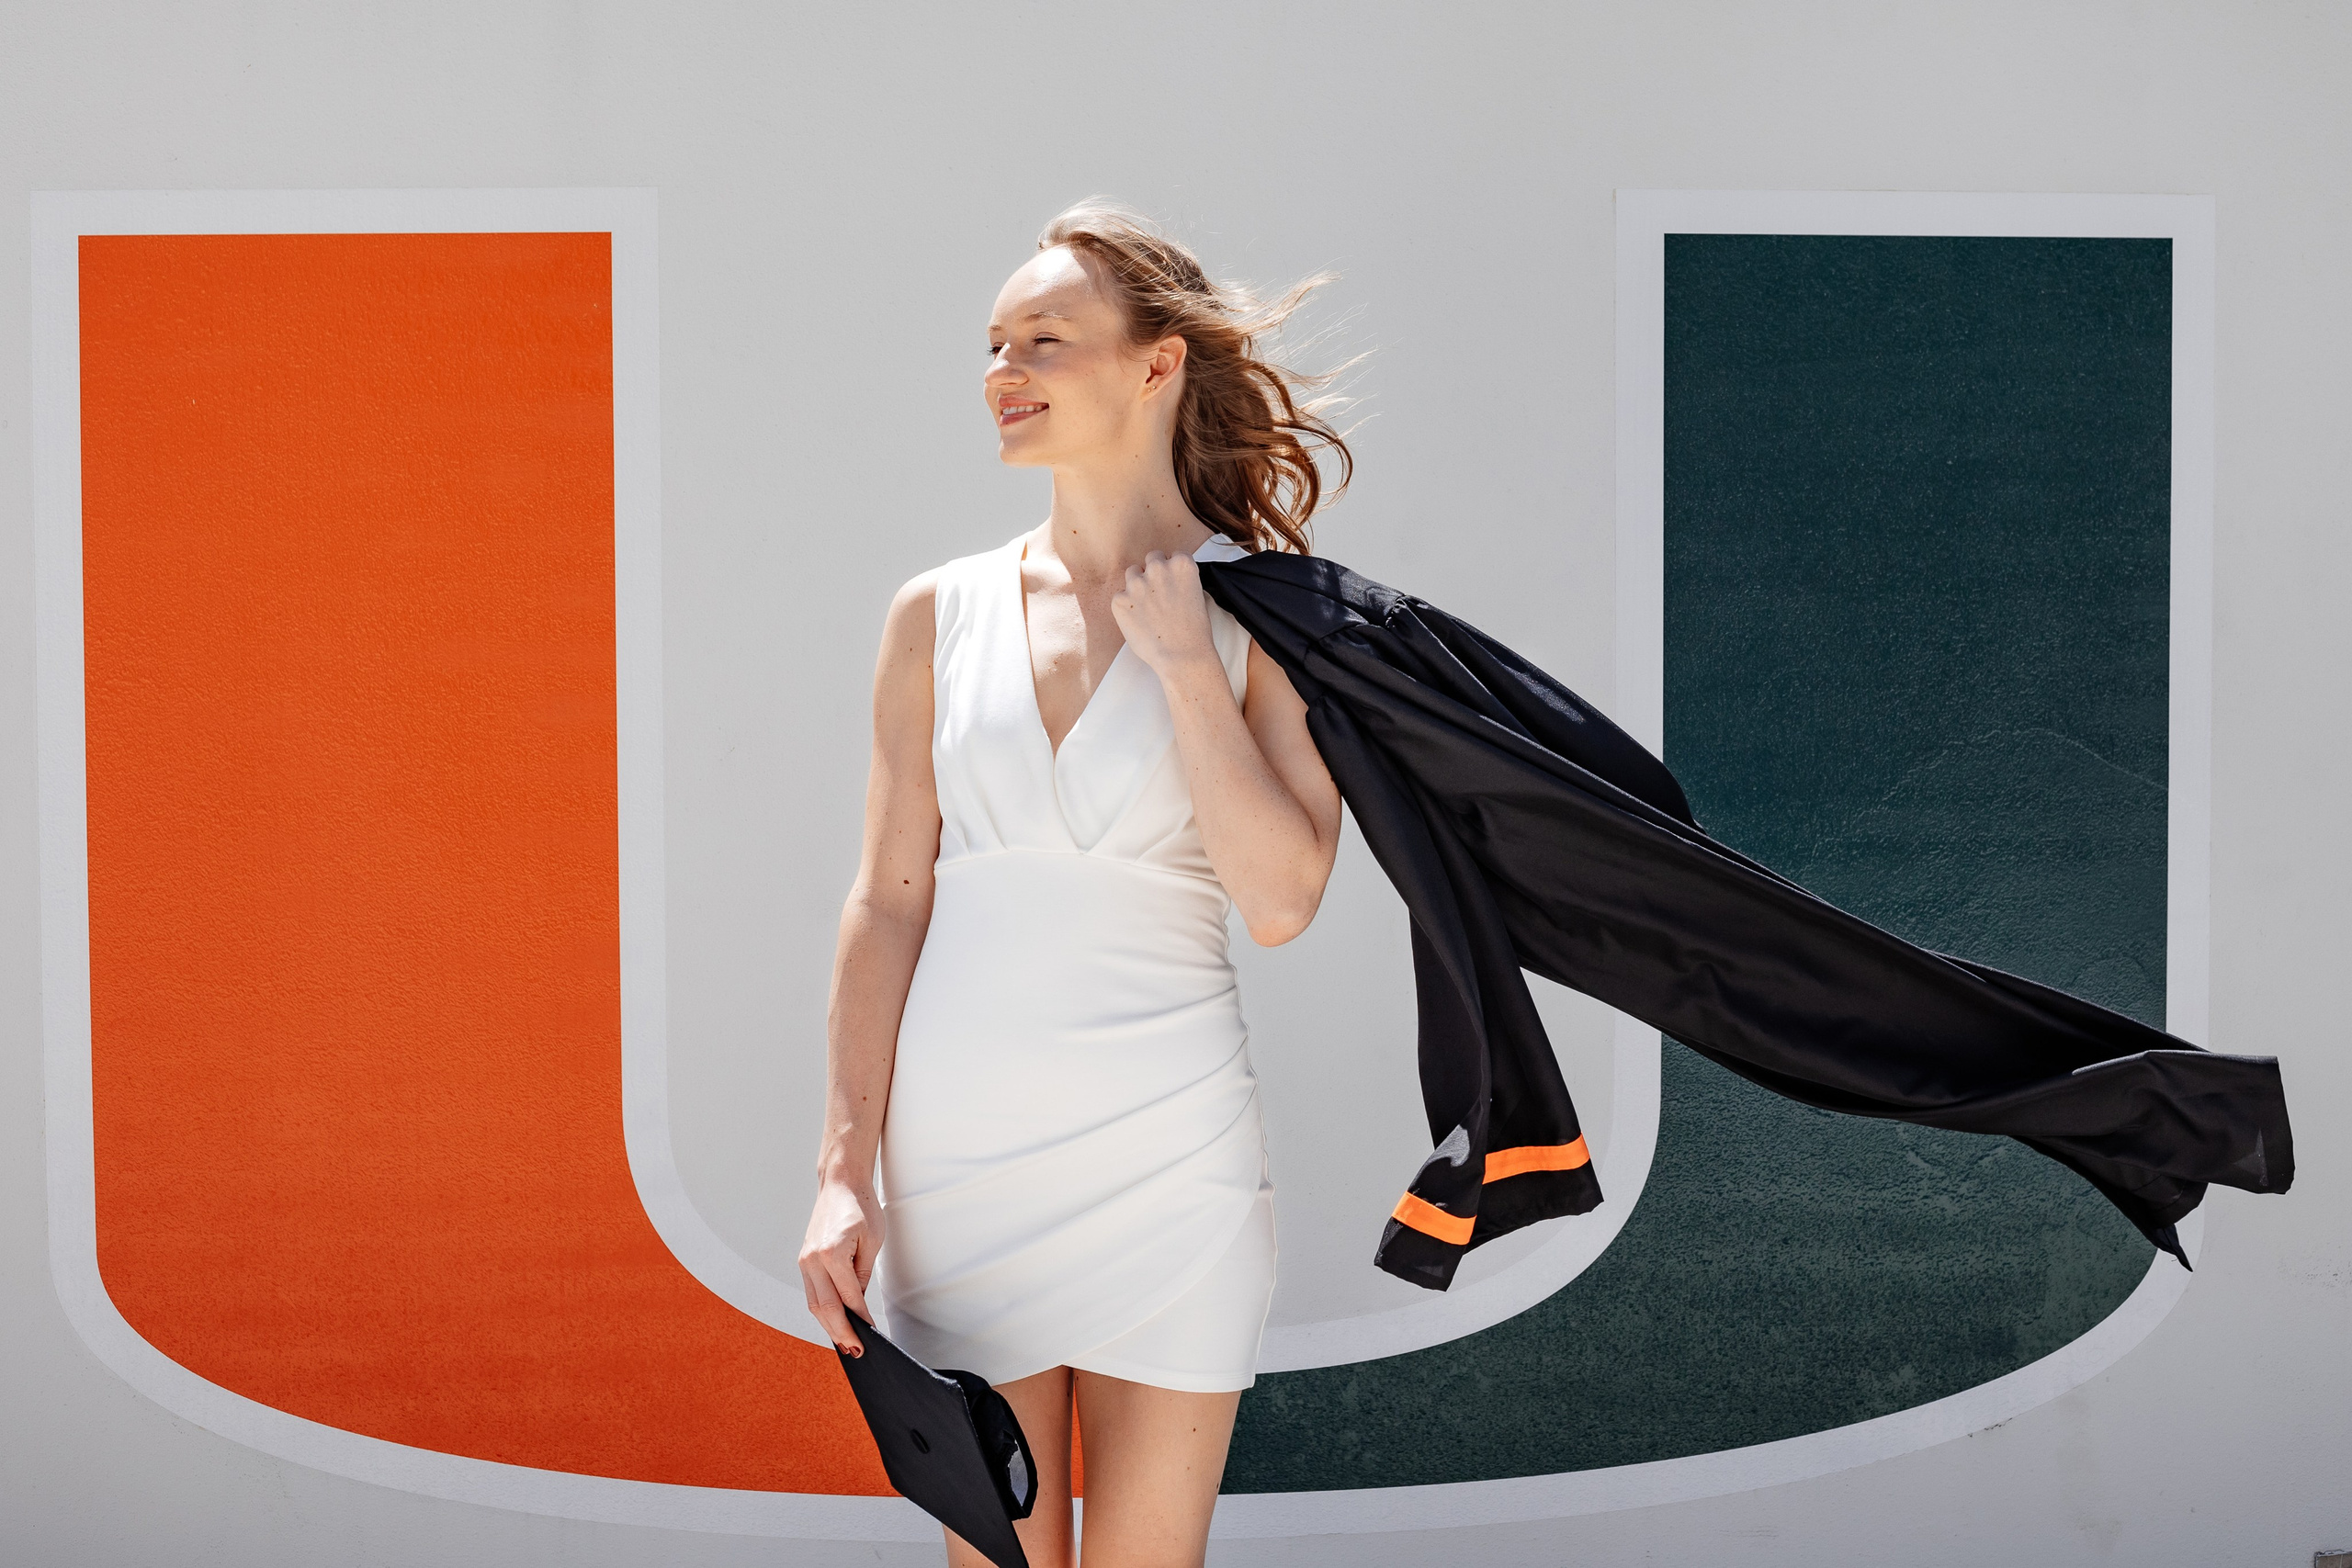
10 Spots For Graduation Photos At University of Miami
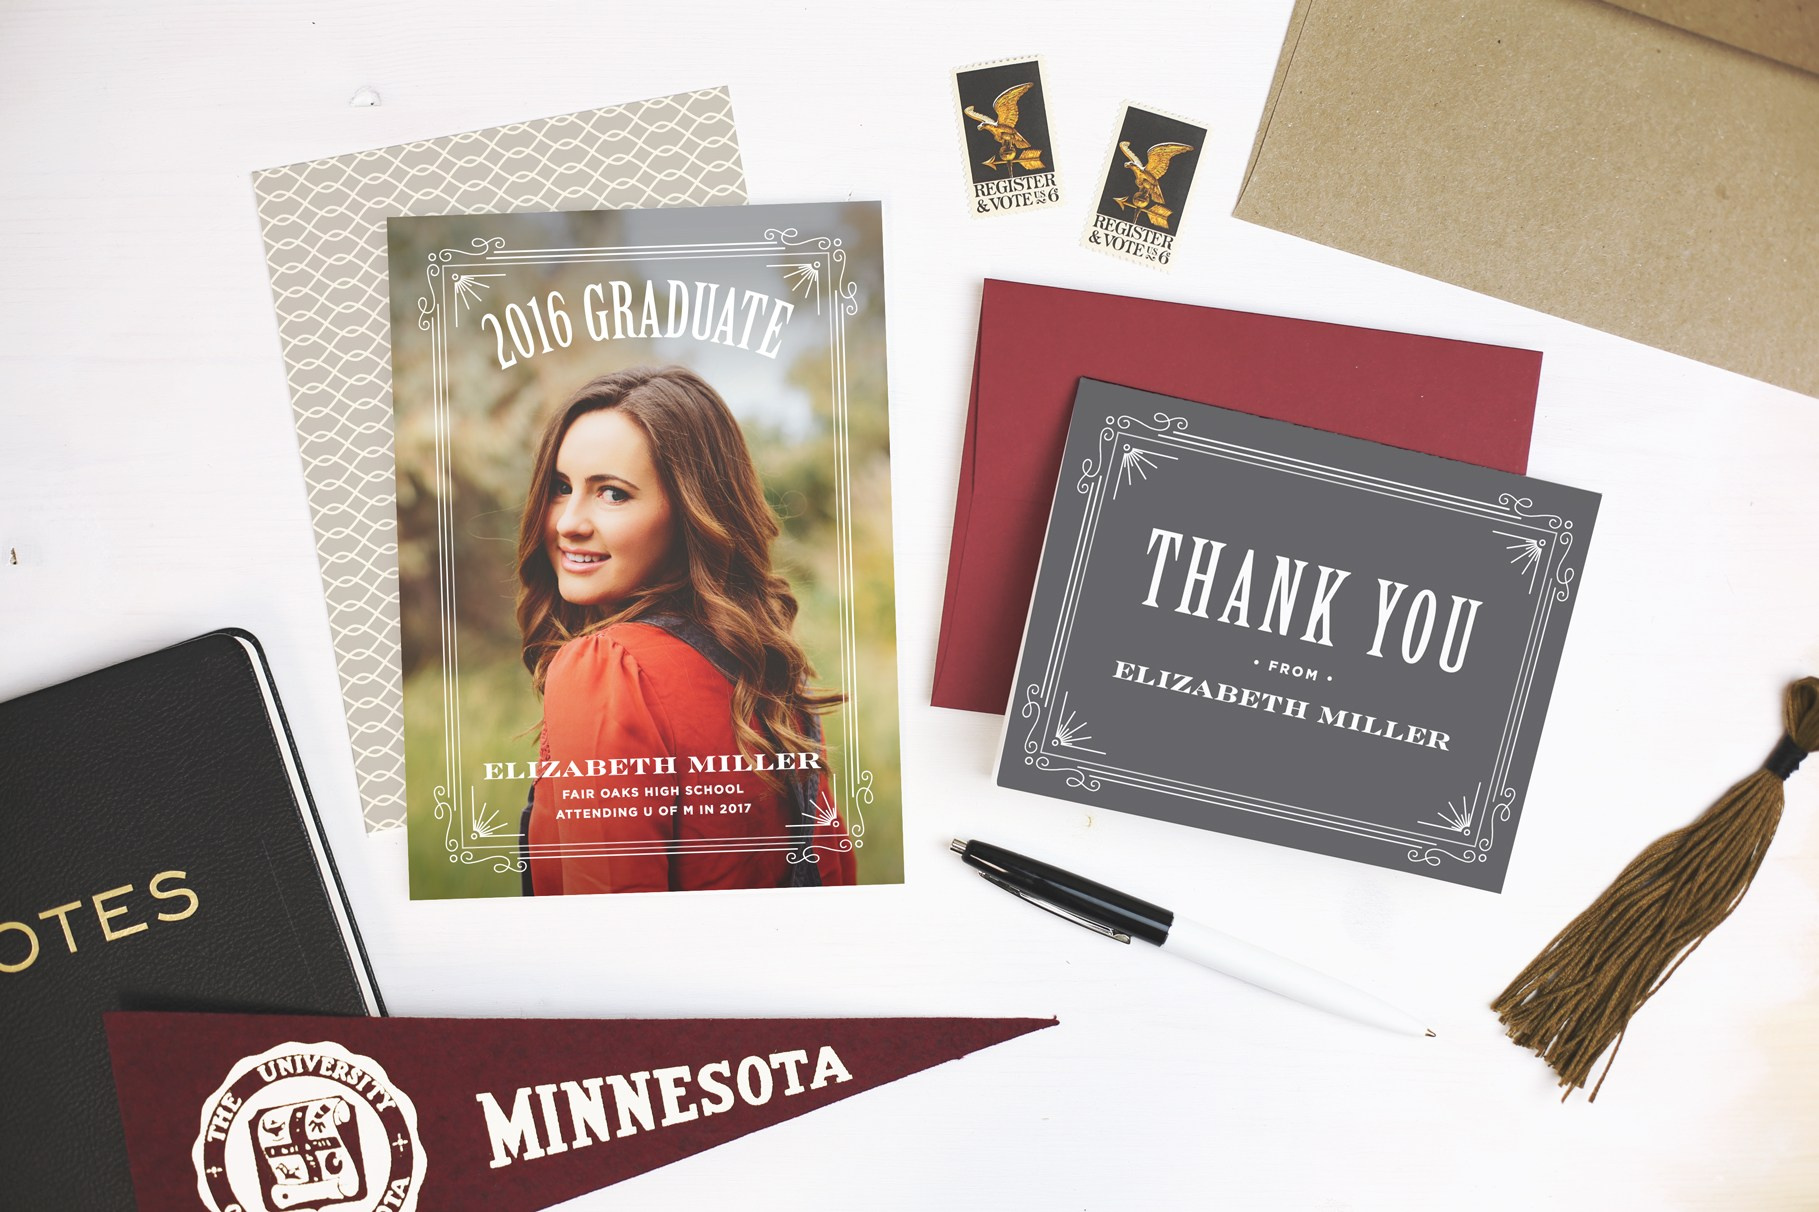
How To Design And Get Your Grad Party Invitations

Miami Grad Goals: Master Your Regalia for Stunning Graduation Photos!
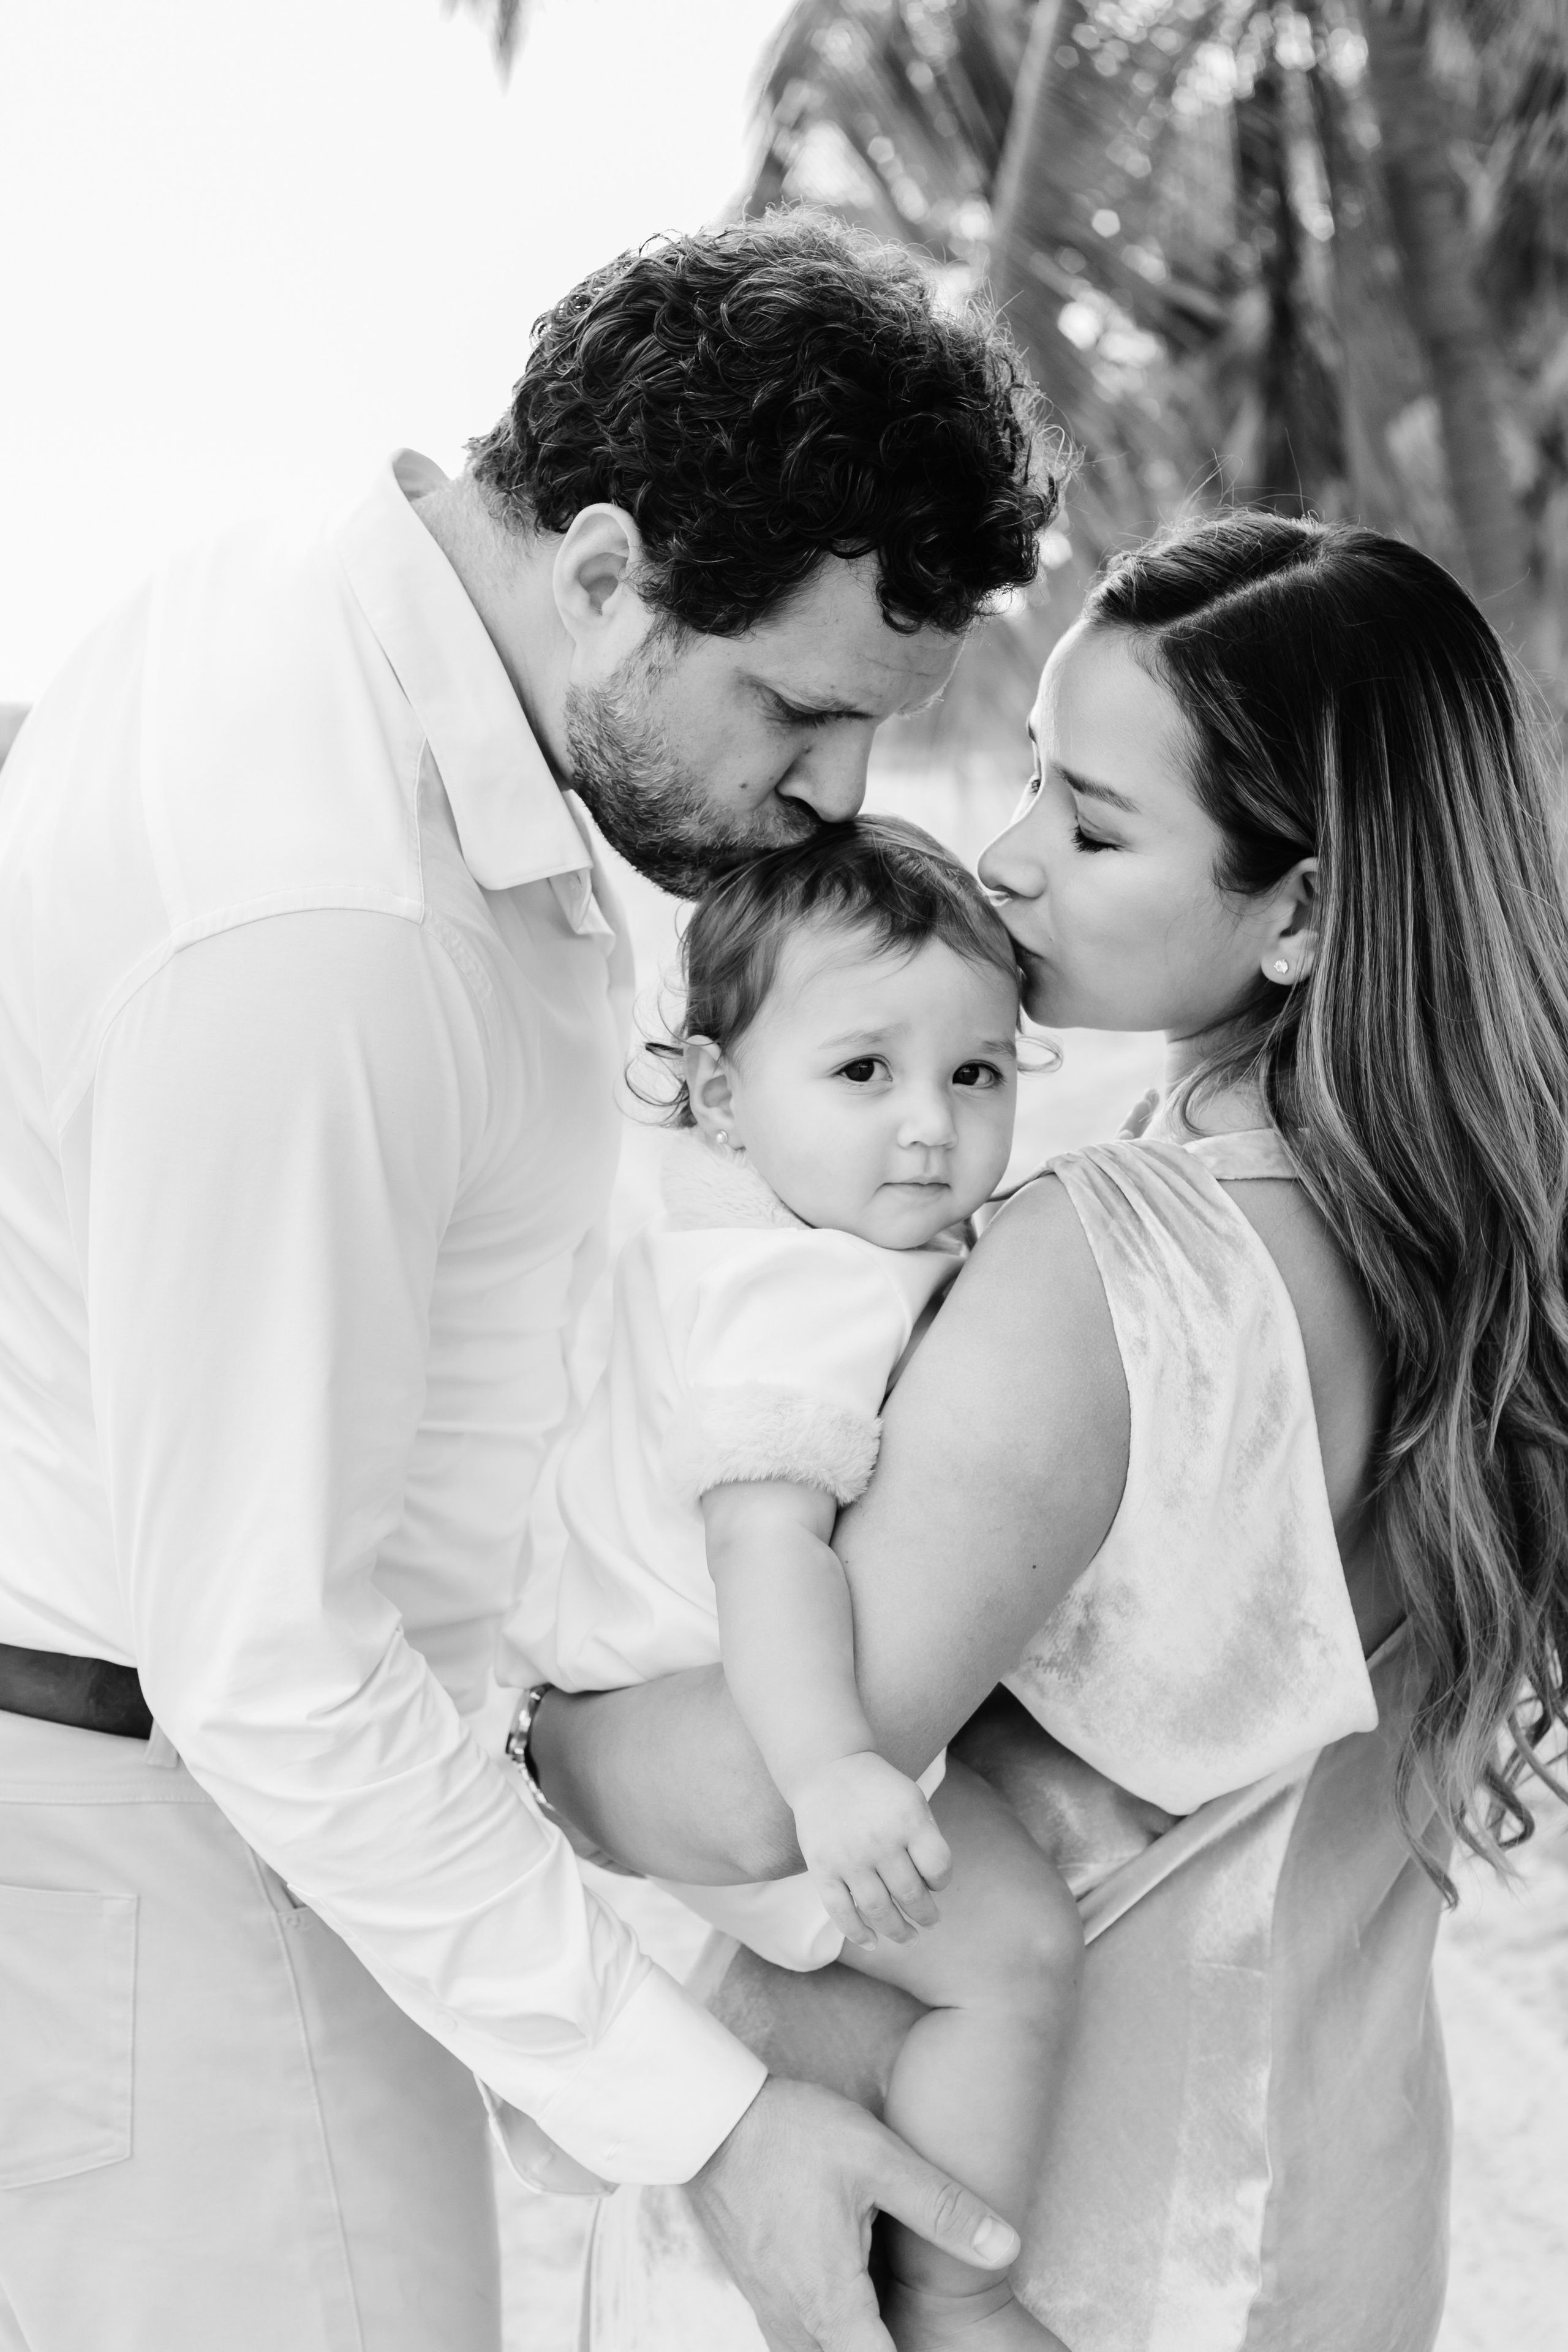
10 Creative Ways To Make Photos Of Your Growing (Too Fast!) Child
Miami Swim Week Show for Anastasia Magazine

Top 10 photo spots in Miami

Faces: Ultra Music Festival, Miami 2023

Ghost Halloween on Miami Beach

Camelot Days 2025: Medieval Festival in Hollywood, Florida

Onyx Storm Release Party At Books & Books in Coral Gables

Capturing Cherished Moments: Family Photoshoots on Miami Beaches


